How To Cultivate Weed, Cultivating weed (cannabis) at home has become increasingly popular for those seeking to enjoy the benefits of the plant. Whether you’re looking to grow for personal use or simply want to experience the satisfaction of growing your own cannabis, it’s important to know the basics of cultivation to ensure a healthy, successful harvest. In this guide, we’ll walk you through the process of growing weed, from seed to harvest.
1. Understand the Legalities
Before you start cultivating weed, it’s essential to understand the legal requirements in your area. Different regions have varying laws regarding cannabis cultivation. Make sure that growing cannabis is legal where you live, and if there are restrictions such as the number of plants you can grow, follow those rules.
2. Choose Your Cannabis Strain
The first step in cultivating weed is to choose the right strain for your needs. Cannabis plants generally fall into three categories: Indica, Sativa, and Hybrid.
- Indica strains are typically more relaxing, with effects that help with stress and pain relief.
- Sativa strains are more energizing, often uplifting and stimulating.
- Hybrid strains are a mix of both, offering a balanced effect.
Your choice will depend on the effects you’re seeking and your growing environment, as some strains may thrive better in specific conditions.
3. Selecting the Right Growing Environment
Cannabis plants can be grown indoors or outdoors. Both have their pros and cons.
Indoor Growing:
- Temperature: Maintain a temperature between 65-80°F (18-27°C).
- Lighting: Cannabis requires a lot of light to grow. Indoor growers often use LED or HPS lights.
- Space: Ensure you have enough room for the plants to grow freely. Indoors, you’ll need space for containers, lights, fans, and ventilation systems.
Outdoor Growing:
- Climate: Cannabis prefers a warm climate with plenty of sunlight (around 6-8 hours per day).
- Soil: Outdoor growers benefit from natural soil, but it should be well-drained and nutrient-rich. You can also amend the soil with compost or fertilizers.
- Watering: Outdoor plants require more attention to watering, depending on rainfall, temperature, and humidity.
4. Germinating Seeds
To start your weed-growing journey, you’ll need cannabis seeds. You can buy seeds from reputable suppliers, either online or from a dispensary. Germination is the process of getting the seed to sprout.
- Paper Towel Method: Place the seeds on a damp paper towel and cover them. Keep them warm and dark. Within 1-7 days, the seeds should sprout a taproot, indicating they’re ready for planting.
5. Planting Your Seeds
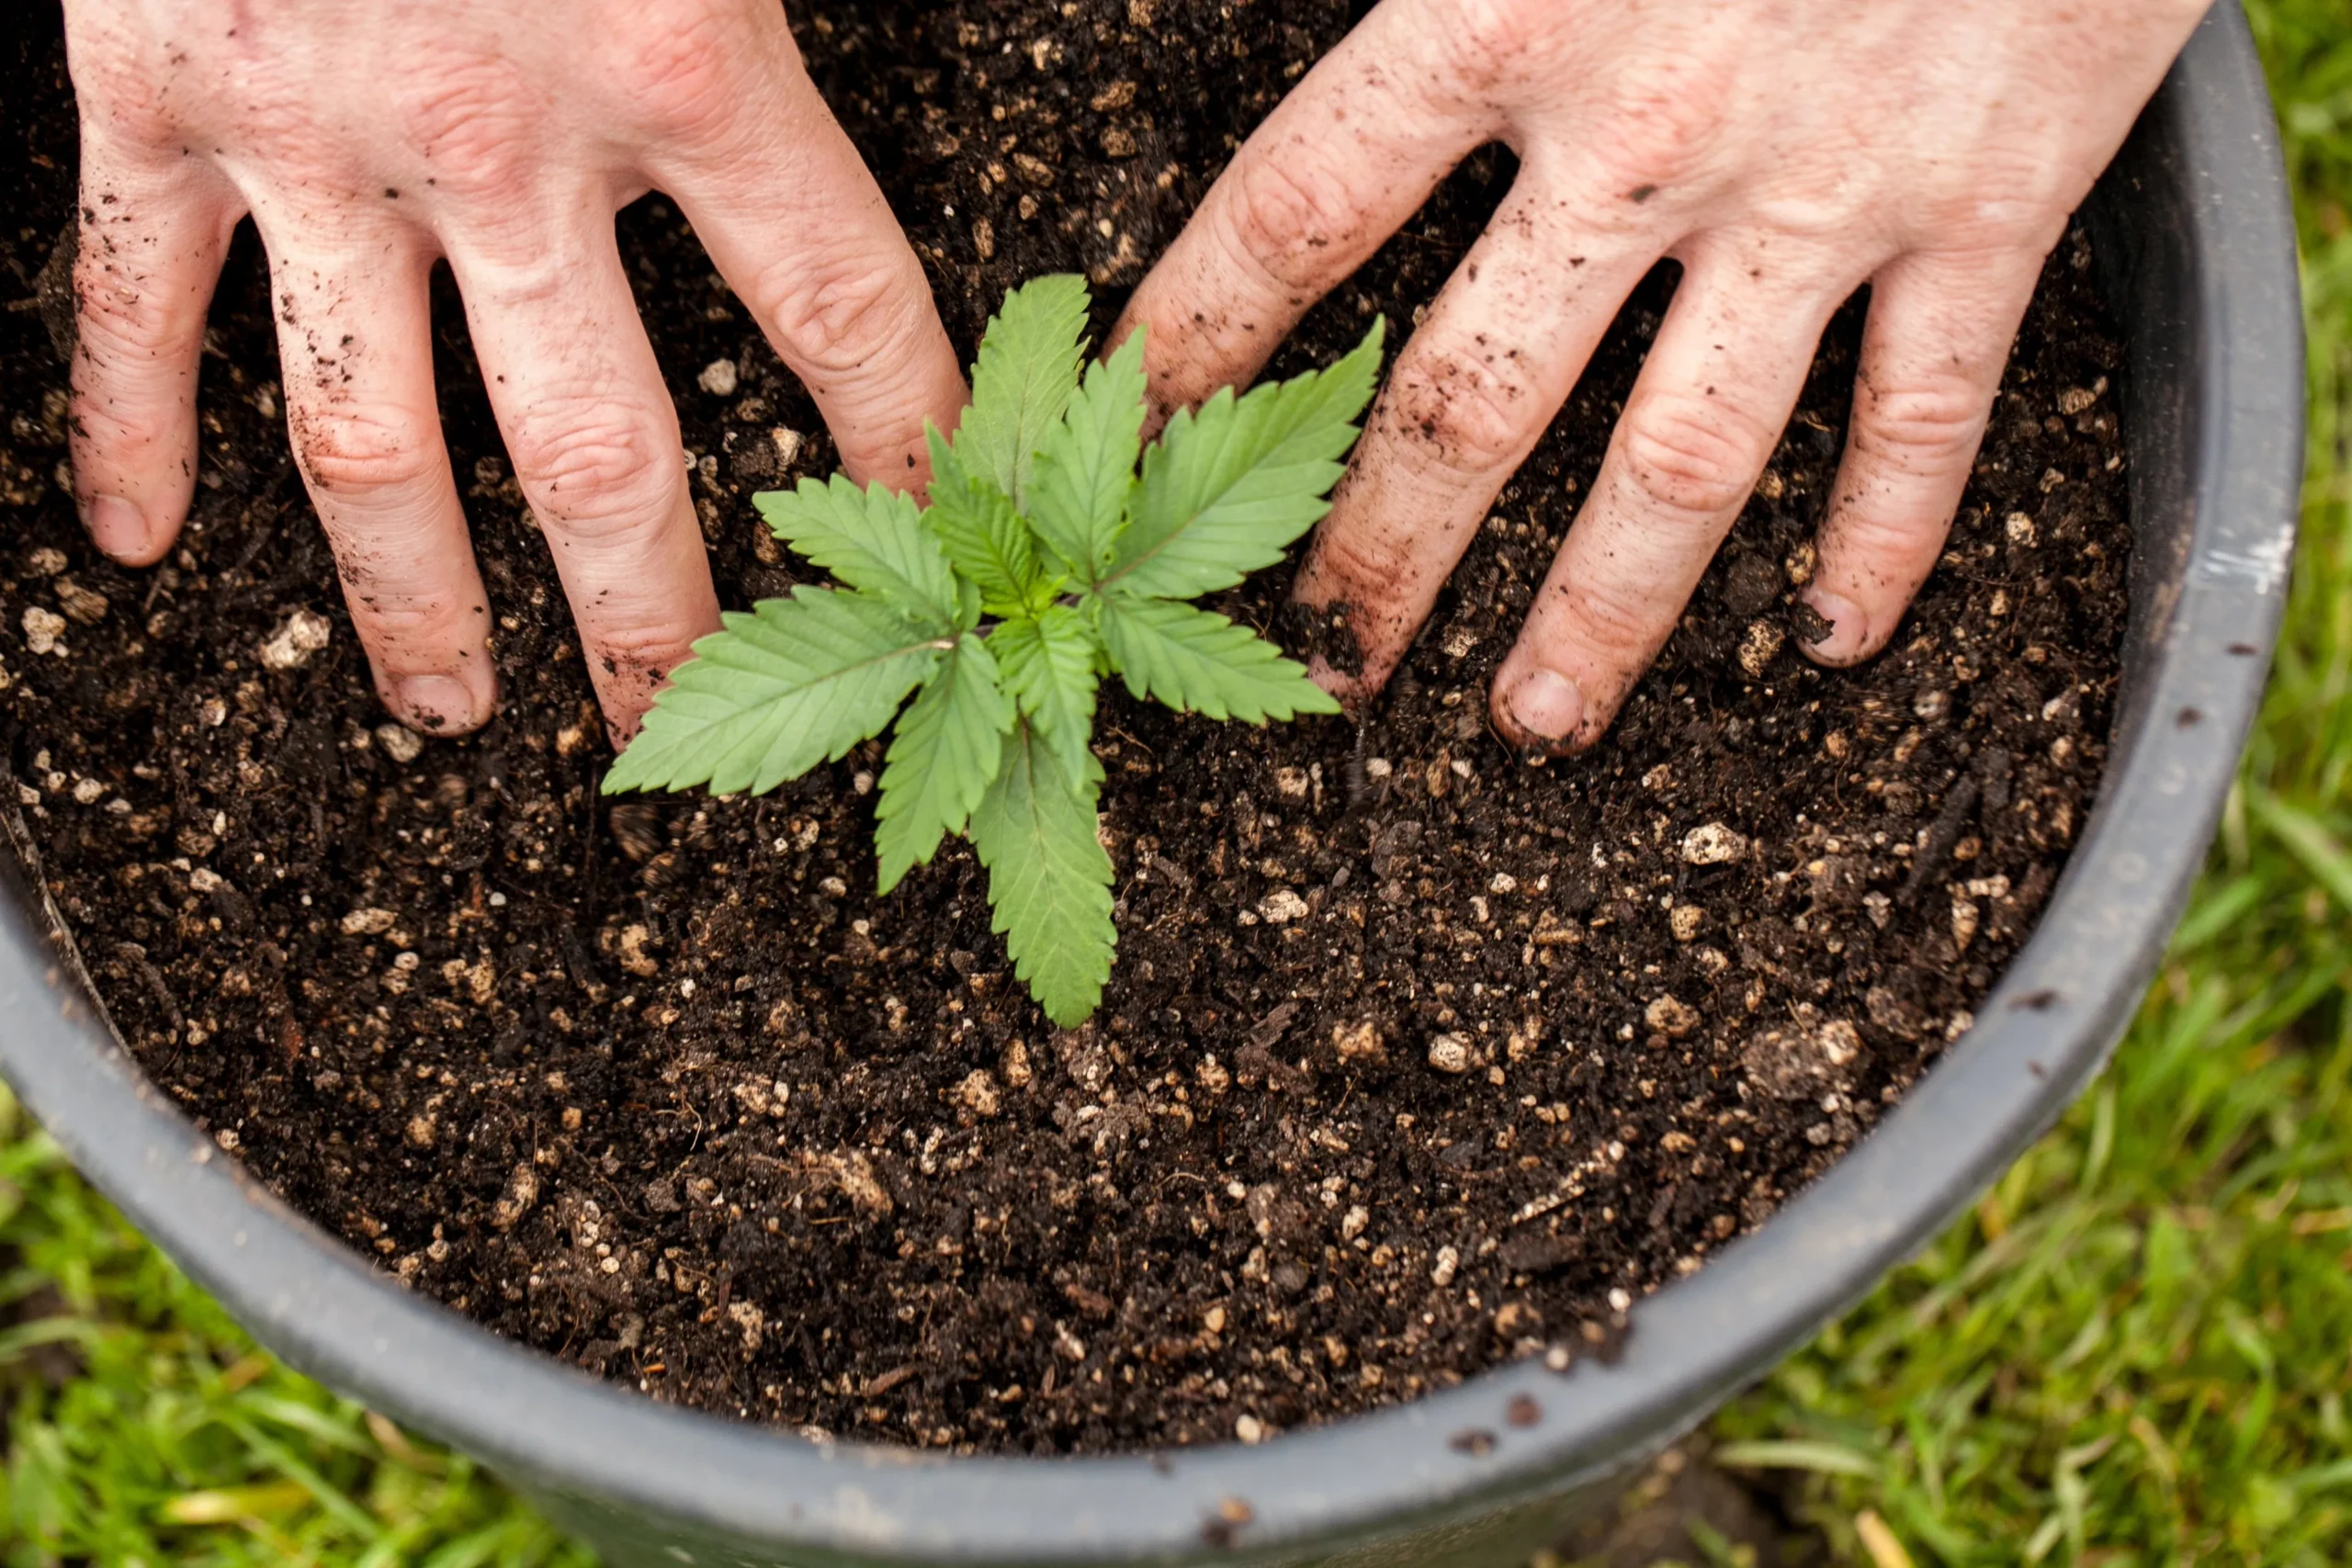
Once your seeds have germinated, it’s time to plant them. If growing indoors, you can use small containers or pots filled with soil. Outdoors, plant them in holes that are about 4-6 inches deep. Be gentle when handling seedlings to avoid damaging them.
- Indoors: Start in small pots and move to larger containers as the plant grows.
- Outdoors: Ensure you space the plants appropriately to allow them room to spread.
6. Vegetative Stage
During the vegetative stage, your cannabis plants will grow tall and develop their leaves. This is when they focus on building structure.
- Lighting (Indoors): Keep lights on for 18-24 hours a day to encourage growth.
- Watering: Cannabis plants in this stage require moderate watering, but they don’t like being over-watered. Ensure the soil is dry before watering again.
- Nutrients: Use a balanced fertilizer high in nitrogen, as cannabis needs plenty of it during the vegetative phase to promote healthy leaf and stem growth.
7. Flowering Stage
The flowering stage is when your cannabis plants begin to produce buds. This stage typically begins after 6-8 weeks of vegetative growth, but it depends on the strain.
- Lighting (Indoors): Switch to a 12-hour light cycle to trigger the flowering process.
- Temperature: Keep the temperature between 65-75°F (18-24°C).
- Nutrients: Switch to a phosphorus and potassium-rich fertilizer to support flower production.
- Pruning: Remove any dead or excess leaves to ensure the plant focuses energy on developing buds.
8. Harvesting
When the buds have matured, it’s time to harvest. Look for the trichomes (tiny, hair-like structures on the buds) to turn milky or amber. This indicates peak potency.
- Cutting: Use sharp scissors or pruning shears to carefully cut off the buds.
- Drying: Hang the buds upside down in a cool, dark, and dry place to dry them for 7-14 days. Ensure proper airflow to avoid mold.
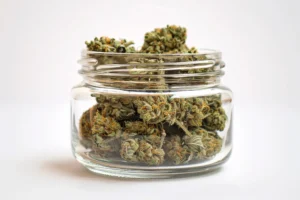
- Curing: After drying, place the buds in glass jars, opening them periodically to let moisture escape. Curing improves the flavor and potency of the weed.
9. Troubleshooting Common Issues
Throughout the growing process, you may encounter some common issues:
- Nutrient Deficiency: If your plant’s leaves turn yellow, it could be a sign of a nitrogen deficiency.
- Pests: Watch out for pests like spider mites or aphids. You can use organic pest control methods, such as neem oil.
- Overwatering: If your plant’s leaves are wilting, it might be due to overwatering. Ensure the soil has proper drainage.
10. Enjoy Your Harvest
After your buds have been dried and cured, they’re ready to be enjoyed! Whether for recreational or medicinal purposes, you can now appreciate the fruit of your labor.
Conclusion
Learning how to cultivate weed can be a rewarding experience, but it requires patience and attention to detail. By following these basic steps—understanding the legal aspects, selecting the right strain, providing proper care during each stage, and troubleshooting issues—you’ll be well on your way to successfully growing cannabis. Happy growing!
You Might Also Like These:


